

Most winter hiking packing lists are summer lists with a jacket stapled on.
That’s how people end up at a trailhead with a cotton hoodie, a water bladder with a tube that will freeze and no plan for how early it gets dark.
A cold-weather trail day is a different trip, and the list that matters is shorter than the internet makes it sound.
Here’s the kit I’d carry for a day hike in snow or cold, in the order you’ll actually need it, with the parts that decide whether your day is fun or miserable.
One upside before the gear: winter is the off-season for hiking, and the crowds of summer and fall tend to vanish with the last of the foliage.
The line at the trailhead is often the shortest you’ll see all year.
Start With Three Layers, Not One Big Jacket

Layering is the whole game.
It’s also simpler than the gear aisle makes it look.
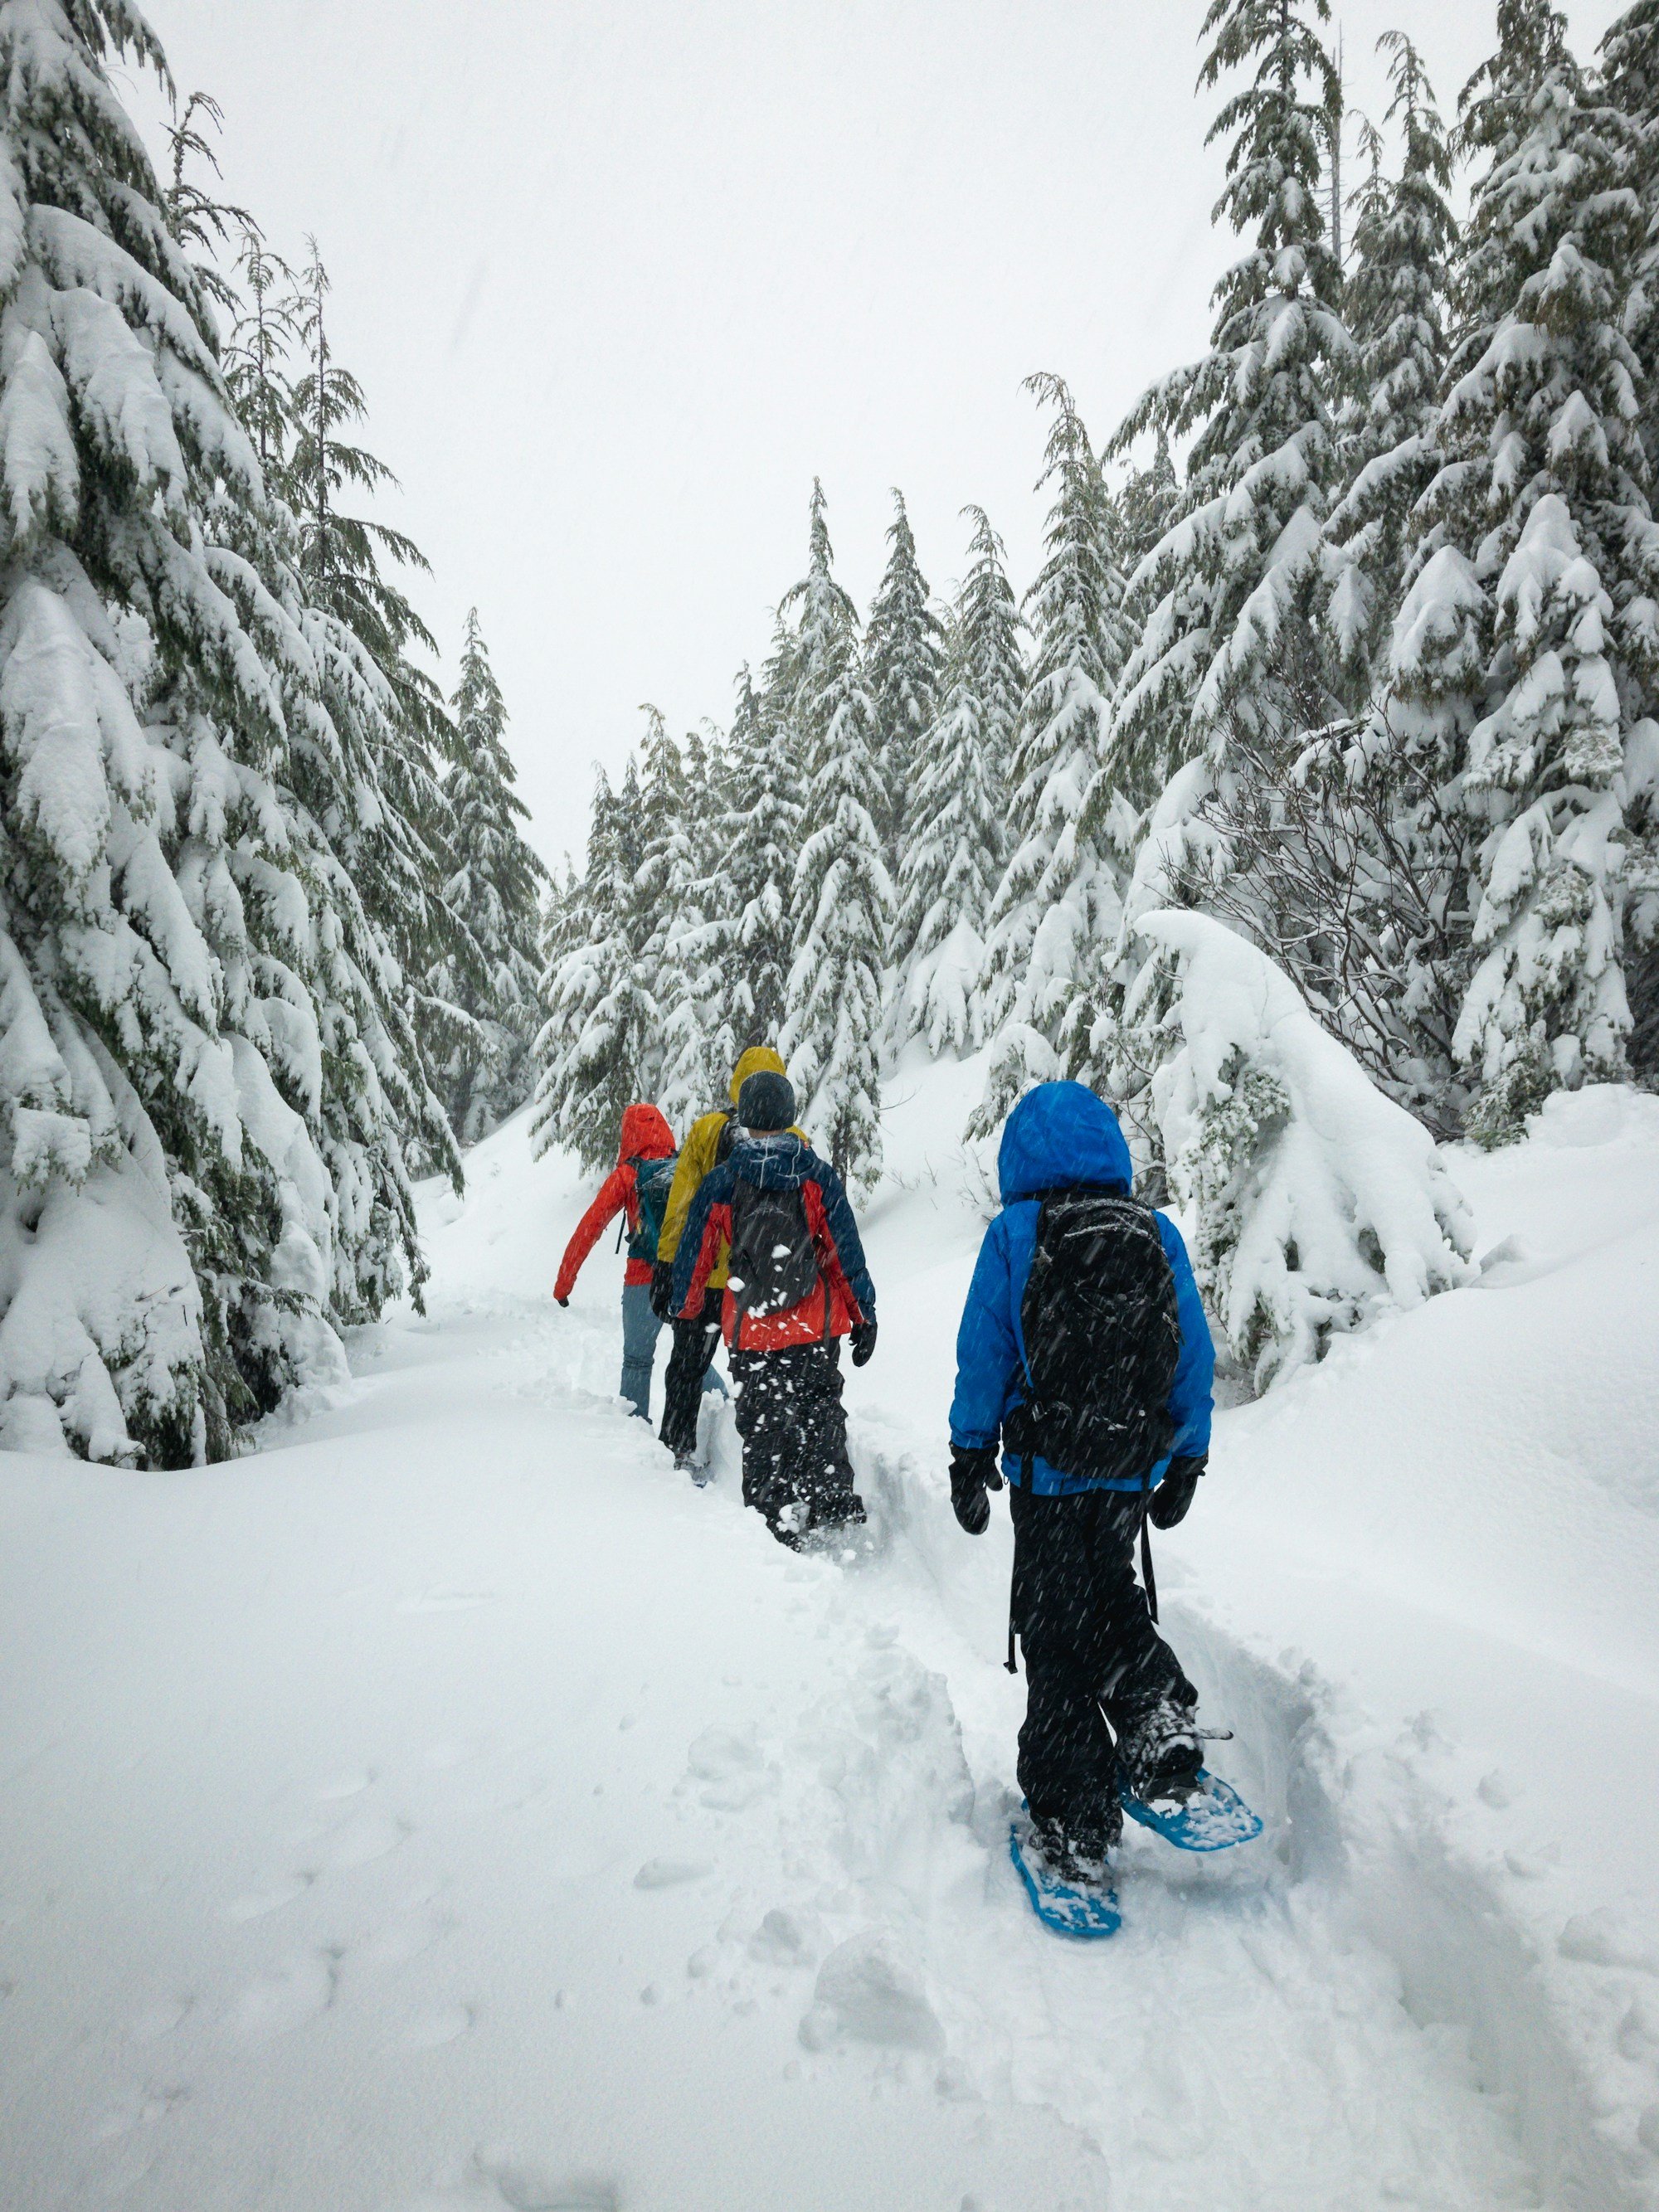
The system is a base layer that sits against your skin and wicks sweat, an insulating layer (a fleece, a wool sweater or a down or synthetic jacket) to hold in heat, and an outer layer to block wind or wet.
Which shell you pick depends on the sky: a waterproof one for wet or stormy days, a windbreaker if it’s dry but breezy.
The mistake is dressing for the parking lot.
You generate a lot of heat when you’re moving, even at low temperatures, and if you start with too many layers you sweat early and soak your clothes.
In the cold, wet clothes are nearly impossible to dry out later.
So start a little chilly, like 10 degrees cooler than you’d want to be standing still and add layers when you stop.
Take them off again before you sweat (a zipper at the neck helps a lot).
Cotton is the one fabric to leave at home, full stop.
Wet cotton loses all of its insulation and takes a very long time to dry.
That means jeans and sweatpants, flannel shirts too.
Wool and synthetics both work for the base layer.
Merino stays warm when wet but dries slowly.
Synthetics dry faster but run colder when wet.
Pick one and don’t overthink it.
Boots, Thick Socks and Gaiters

Cold feet end a lot of winter hikes early, and two choices fix most of it.
First, pick boots with real insulation and space for thicker socks.
A boot that’s too tight cuts off circulation and gives you cold toes, even with great socks.
A good bar for cold days is boots with 400 grams of insulation (about 14 ounces of synthetic fill per square meter, if you’re curious) or a rating down to -40°F, and they need to fit with your traction devices too.
Second, wear wool or a wool-synthetic blend, because wool still insulates when it’s damp.
A second pair in the pack means a dry one for the drive home.
And if the snow is deep, add waterproof gaiters.
They stop snow from collecting in the top of your boot and melting, and they keep your pants drier.
One small habit helps more than it sounds.
Really.
Change into your hiking socks and boots at the trailhead.
If your feet sit in warm boots during a long drive, they’re sweaty before you’ve taken a step, and sweat is how feet get cold.
Traction: Microspikes, Snowshoes or Neither

This is the item people either skip or over-buy.
Worth getting right.
Traction should match the surface.
Microspikes work best on hardpacked snow and moderate climbs, and they slip on and off easily.
Snowshoes are for fresh or deep snow, where you’d otherwise sink and tire yourself out.
Crampons are only necessary on extremely steep, icy terrain.
One more thing: snowshoes don’t give you grip on ice.
If the trail has been packed down by other hikers and has a glaze on top, microspikes are the better choice.
Conditions also change along a route, and snow at the trailhead doesn’t promise snow at the top.
If the terrain might call for it, carry more than one option and swap as you go.
Warm days can be worse than cold ones for ice.
Before you pick a trail, look at the forecast and at the last week of weather.
If temperatures stay below freezing all day, the ice is solid and predictable.
If there was a recent thaw, or rain followed by a freeze, expect slick patches that weren’t there on last month’s trip report.
That check takes 2 minutes and decides whether you pack spikes or leave them in the car.
Worth it.
Be honest about the way down.
Going up is the easy half, and at 3 miles in, with sore legs and an icy slope, it won’t feel easy.
People climb a slippery hill and forget they have to come back.
If you don’t have the traction to get down, turn around while it’s still easy.
Trekking poles with snow baskets on the bottom add stability, and I’d put them on the list for any trail with ice.

🗼 I Wrote a Book About My Japan Travel Catastrophes!
Before I landed in Tokyo, I thought I was the “Final Boss” of international travel. Spoiler alert: I WASN’T. 😅
🚅 I boarded the wrong Shinkansen and ended up in THE WRONG CITY. I confused locals with my “expert” bowing that was more awkward than accurate. I accidentally stumbled into a high-stakes Kendo practice thinking it was a tourist show. Sound like something you’d do?
“Things I Wish I Knew Before Going to Japan” is your shortcut to avoiding ALL my cringe-worthy mistakes. ✨ Inside, you’ll find practical, LIFE-SAVING tips on etiquette, transport, money, and hidden gems that will save you time, money, and a whole lot of confusion.
Keep Your Hands and Head Warm

If your core is warm, your hands and feet will be too, so check your layers first (a 20°F morning is a good test).
After that, it’s accessories: warm socks, gloves, a hat and a face covering for wind.
Bring 2 pairs of gloves, a thin pair and a thick one.
A spare is cheap insurance, and so are chemical hand warmers on a really cold day.
Cheap, and they work.
Kinda like magic.
The cheapest thing on this list is a foam pad or a sleeping pad to sit on.
It keeps you off cold, wet snow when you stop for a snack, and it weighs almost nothing.
Sunglasses and sunscreen belong in the pack as well.
Snow bounces the sun right back at you.
Food and Water That Won’t Freeze

You burn a lot of calories just staying warm, and you’re carrying 5 or 10 extra pounds of gear, so eat all day.
Winter hikers rarely stop for a long lunch.
You cool off fast once you stop, usually within 10 minutes.
Take breaks of 5 minutes or so, snack as you go and keep moving.
For water, skip the bladder with the drinking tube, since the tube and mouthpiece are exposed and will freeze.
Use insulated bottles instead.
Two 1-liter bottles is about right for a half day.
Wrap them in a bottle parka or a heavy wool sock and pack them upside down, so the water freezes from the top and the cap stays clear.
If you start with near-boiling water and keep the bottle insulated, it should stay liquid for the whole day hike.
A thermos of something hot is the best morale boost per ounce there is.
Hot water for tea or cocoa works, and so does soup you heated at home.
Even a good thermos can chill in freezing temperatures, so wrap it in a spare layer inside your pack.
The Ten Essentials, Plus the Winter Extras

The pack starts with the Ten Essentials that every hike needs: a map and compass, extra clothing, extra food and water, a flashlight or headlamp, matches or a fire starter, a first-aid kit and a gear repair kit, a whistle, a pocketknife and weatherproof upper and lower layers.
Winter adds an emergency shelter, sunscreen with sunglasses, spare warm layers, hand warmers and trekking poles with snow baskets.
Don’t skip the map and compass.
Snow can bury the trail and cover markers like signs and cairns, which makes it easy to lose your way, even on a trail you’ve hiked in July.
A paper map and a compass never need a battery.
Turns out that’s the whole point.
Daylight, a Turnaround Time and Telling Someone

In December the sun can set before 5 p.m. in much of the country, so a winter day is short.
Nearly every hike also takes longer than it does in summer.
You’re wearing bulkier clothes and heavier boots, carrying a bigger pack and walking in snow.
So set a turnaround time before you leave, whether or not you’ve reached the destination, and stick to it.
For a day hike I’d pick 2 p.m., which leaves a cushion of a couple of hours before dark.
A 4-mile hike you finish beats a 10-mile one you have to be rescued from.
Hike with a friend if you can, especially if you’re new to it, since the risk of injury may be higher in winter.
Two people is the minimum I’d go with.
Three is better.
Tell someone your plan: the trail, who’s with you and when you expect to be back.
And check the forecast the day before.
If heavy snow, high winds or subzero temperatures are coming, cancel.
The mountain will be there next weekend.
Really.
If you’re new, start with short, easy trails at lower elevations.
Conditions at the base of a mountain are no guide to the summit, where it’s colder and a lot windier.
Know the Signs of Hypothermia
Hypothermia is the thing the whole list is built to prevent.
It’s an emergency, and a serious one, in which the body can’t keep itself warm because of exhaustion and exposure to cold, wet, windy weather.
Watch for shivering you can’t stop and clumsy hands.
Confusion and a careless attitude come next, and so does exhaustion that rest doesn’t fix.
Hikers remember the early signs as the umbles: stumbling and mumbling, fumbling and grumbling.
If you or someone in your group starts showing them, the first moves are to get out of the wind, remove wet clothing and put on dry layers, and drink something warm and sweet.
If warming up doesn’t work, get help.
This is why the spare layers matter.
A dry set of clothes in a bag is cheap insurance and may be the difference between a funny story and a rescue.
So here’s the short list: three layers and no cotton, insulated boots and wool socks, traction that fits the trail, insulated water, snacks, the Ten Essentials and a turnaround time.
If you want a list for a different kind of trip, our packing list generator builds one for any destination, and Gatlinburg in winter is an easy place to try a cold-weather trail day with cozy cabins nearby.
For fuel, trail snacks that survive a hot pack work in winter too.