
I almost missed the best shot of my entire trip to Portugal because I was too busy digging through a camera bag.
By the time I found the right lens, the light was gone.
The fishing boat had already pulled away from the dock.
My buddy just looked at me and said, “man, you had your phone in your pocket the whole time.”
He was right.
That was the trip where I stopped overthinking my gear and started actually paying attention to what was in front of me.
So if you’re standing somewhere incredible right now, phone in hand, wondering if you’re “doing it wrong” because you don’t have a fancy camera — you’re not.
You just need to know a few things.
I’ve spent years chasing sunsets, backroads, and questionable street food with nothing but a phone, and I’ve picked up some tricks along the way.
Let’s get into it.
Wipe Your Lens Before You Do Anything Else

This one sounds dumb.
I know.
But hear me out.
Your phone lives in your pocket, your backpack, your hand after you just ate a taco.
That little glass circle picks up fingerprints, dust, sunscreen, you name it.
And a smudged lens turns every photo hazy, soft, and kind of sad looking, even if the scene in front of you is unreal.
I learned this the hard way in Sedona.
I took probably forty photos of these gorgeous red rocks, genuinely thought I nailed them, and later that night I zoomed in and every single shot had this weird foggy glow.
Turns out I’d been wiping sunscreen on my face all day with the same hand I used to grab my phone.
Rookie mistake.
Now it’s basically a ritual for me.
Every time I pull my phone out to shoot something, I give the lens a quick wipe on my shirt first.
Takes two seconds.
Costs nothing.
And it’s the difference between a crisp, clean shot and one that looks like it was taken through a shower door.
Do this before every single golden hour shoot, every viewpoint, every “whoa, pull over” moment on a road trip.
Your future self scrolling back through the trip will thank you.
Chase the Light, Not the Landmark

Here’s something I wish someone told me earlier.
The landmark isn’t what makes a photo good.
The light is.
I’ve seen incredible temples, waterfalls, and skylines look totally flat and boring because they were shot at two in the afternoon under harsh, flat sun.
And I’ve seen a plain old parking lot look like something out of a movie because the light was hitting it just right at seven in the morning.
So if you can plan around anything, plan around the light.
Early morning and that hour before sunset are basically cheat codes.
Everything gets this warm, golden, almost glowing quality, and shadows get long and soft instead of harsh and ugly.
I remember shooting the coastline in Big Sur at midday once, and the photos were just okay.
Went back the next evening around six, same exact spot, and suddenly the ocean looked like it was on fire.
Same phone.
Same rocks.
Completely different photo.
If you’re touristing hard and can’t control your schedule, at least be aware of it.
Harsh midday sun means find shade, shoot details instead of wide landscapes, or just wait it out with a coffee.
Golden hour means drop everything and go outside.
I’m dead serious about that last part.
Turn On Your Grid Lines

Quick, practical one here.
Go into your camera settings right now and turn on the grid.
Almost every phone has this option, and almost nobody uses it.
It splits your screen into a tic-tac-toe pattern, and it’s there to help you line up your shot using something photographers call the rule of thirds.
Basically, instead of jamming your subject dead center every time, you place it along one of those grid lines instead.
Sounds small.
Makes a massive difference.
A photo with the horizon smack in the middle often feels stiff and boring.
Move that horizon down to the bottom third, let the sky breathe, and suddenly the photo feels more alive, more cinematic.
I do this constantly with mountain shots.
Horizon on the lower line, mountains filling the top two thirds, done.
Same trick works with a person in the frame too.
Instead of centering your travel buddy, put them off to one side and let the background actually tell part of the story.
It feels more natural, more like a moment you stumbled into rather than a stiff posed photo.
Once you turn the grid on, you’ll probably never turn it back off.
It becomes automatic pretty fast, and your eye just starts finding those lines on its own, even without looking at the screen.
🗼 I Wrote a Book About My Japan Travel Catastrophes!
Before I landed in Tokyo, I thought I was the “Final Boss” of international travel. Spoiler alert: I WASN’T. 😅
🚅 I boarded the wrong Shinkansen and ended up in THE WRONG CITY. I confused locals with my “expert” bowing that was more awkward than accurate. I accidentally stumbled into a high-stakes Kendo practice thinking it was a tourist show. Sound like something you’d do?
“Things I Wish I Knew Before Going to Japan” is your shortcut to avoiding ALL my cringe-worthy mistakes. ✨ Inside, you’ll find practical, LIFE-SAVING tips on etiquette, transport, money, and hidden gems that will save you time, money, and a whole lot of confusion.
Get Low or Get High, Just Don’t Stay at Eye Level

Most people shoot everything from exactly where they’re standing, phone up at chest or eye height, and that’s fine, but it’s also kind of forgettable.
The most interesting travel photos usually come from a weird angle.
So get down on the ground.
Crouch, kneel, lay flat if you have to and don’t care about your outfit.
I’ve absolutely laid down on cobblestone streets in Italy to get a shot looking up at a doorway, and yeah, people definitely stared.
Worth it though.
Shooting from low down makes everything look bigger, grander, more dramatic, especially buildings, trees, or anything tall.
On the flip side, get up high when you can.
A rooftop bar, a hill, even just standing on a bench for two seconds, gives you a totally different perspective on a city or a landscape.
I did this in Lisbon, climbed up to a viewpoint everyone walks right past because it’s a bit of a hike, and got this shot looking down over the orange rooftops that still might be my favorite travel photo ever.
From street level, that same view is just, you know, buildings.
The angle is what made it special.
My tip: whenever you find a spot you like, don’t just take one photo and move on.
Take it standing, take it crouched, take it from a step or ledge nearby.
Sort it out later.
In the moment, just collect options.
Use Leading Lines to Pull People Into the Photo

This is one of those things that once you see it, you can’t unsee it.
A leading line is basically anything in your photo that draws the eye toward your main subject, a road, a fence, a row of trees, a pier stretching out into water.
Your eye naturally follows lines, so if you frame your shot with one leading toward whatever matters, the whole photo feels more intentional and pulls people in.
I think about this every time I’m on a road trip.
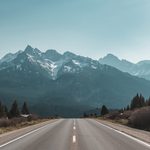
An empty highway disappearing toward mountains in the distance is one of my favorite shots to grab, because that road is basically doing the storytelling for me.
It says “adventure,” it says “somewhere out there,” without me needing a caption at all.
Same idea works with staircases, hallways, rows of market stalls, even shorelines.
Stand at one end, let the line run through your frame, and put your subject or focal point where that line naturally leads.
And here’s a small hack I use a lot.
If there’s no obvious line in a scene, I’ll sometimes just find one anyway, a crack in the pavement, a shadow, a fence post.
You don’t need something grand.
You just need something for the eye to follow.
Once you start noticing lines everywhere, your photos will start feeling more composed without you even trying that hard.
Get Close to Something Small Before You Shoot the Big Picture

Wide shots of a city or a landscape are great, but they can also feel a little generic after a while.
Every tourist has that same wide shot of the same famous view.
What actually makes your photos feel like yours are the small details nobody else notices.
The chipped paint on a blue door in Greece.
Steam coming off a bowl of noodles in Vietnam.
An old man’s weathered hands shuffling cards in a park.
These are the shots that make people stop scrolling.
I try to get at least a couple of close-up, detail-focused shots at every single stop, even boring stops, honestly especially boring stops.
Texture, color, little imperfections, that’s where the personality of a place actually lives.
Tap your screen on the subject to lock focus, and if your phone has portrait mode, use it here.
That little blur behind the subject makes it feel almost professional, and it draws attention exactly where you want it.
My personal rule of thumb, if I had to give one tip and only one, this might be it.
Shoot the wide landscape everyone else shoots, sure.
But then immediately look down, look close, and find one tiny detail that tells the same story in a completely different way.
Nine times out of ten, that detail shot ends up being the one people ask about.
Don’t Center Faces, Give Them Room to Look Into

If you’re taking photos of people while traveling, and you probably are, here’s a small trick that instantly makes portraits feel better composed.
Leave space in the direction they’re looking or walking.
If someone’s looking off to the left, don’t crop them tight on the right side of the frame.
Give that left side some breathing room.
It just feels more natural, like there’s somewhere for their gaze, or their next step, to go.
Cramming a person right up against the edge of the frame they’re facing feels claustrophobic, even if you can’t quite explain why.
I noticed this a lot shooting friends walking through markets in Marrakech.
The shots where I gave them space ahead of their walking direction felt like a story in motion.
The ones where I cut it too close felt awkward, like they were about to walk right out of frame.
Small adjustment, big difference in feel.
Also, and I say this gently, stop asking people to say cheese.
Candid shots almost always beat posed ones.
Ask your travel partner to just look at the view instead of the camera, walk naturally, laugh at something you said.
Snap it while they’re not thinking about the camera at all.
Those are the photos people actually keep.
Learn Burst Mode for Anything That Moves

Kids running, waves crashing, birds taking off, a street performer mid-spin, anything with motion deserves burst mode.
Just hold down your shutter button and let your phone fire off a dozen shots in a couple seconds.
Then scroll through afterward and pick the one where everything lines up.
I use this constantly for beach shots, honestly, because timing a wave perfectly with a single tap is basically impossible.
Burst mode takes the guesswork out of it completely.
Same goes for photographing animals, which are famously unpredictable and unbothered by your creative vision.
I tried getting a single perfect shot of a dog running on a beach in Tulum, missed it about six times in a row with single shots, switched to burst, and got the shot on the first try.
It felt like cheating, honestly, in the best way.
One small hack here, delete the extras right away.
Burst mode fills up your storage fast, and nobody needs eleven nearly identical photos of the same jump.
Pick your favorite, maybe keep a backup, and clear the rest before you forget and end up with three thousand photos by the end of the trip.
Trust me on that one.
Symmetry Is an Easy Win, So Look for It

Symmetrical shots are one of the fastest ways to make a photo feel intentional and striking, and honestly, they’re not that hard to find once you start looking.
Reflections in water, matching archways, a straight hallway, a bridge cutting a scene perfectly in half.
Line your subject up dead center for these, which breaks the rule of thirds thing from earlier, and that’s completely fine.
Symmetry is basically the one exception where centering actually works better.
My favorite version of this is water reflections, calm lakes, puddles after rain, even a still harbor early in the morning.
Get down low, almost level with the water, and let the reflection mirror the scene above it.
I got a shot like this in the Netherlands, canal houses reflected perfectly in still water at sunrise, and it’s one of those photos that people assume took some kind of special setup.
It didn’t.
It just took getting up early and noticing the water was calm.
Doorways and archways work the same way.
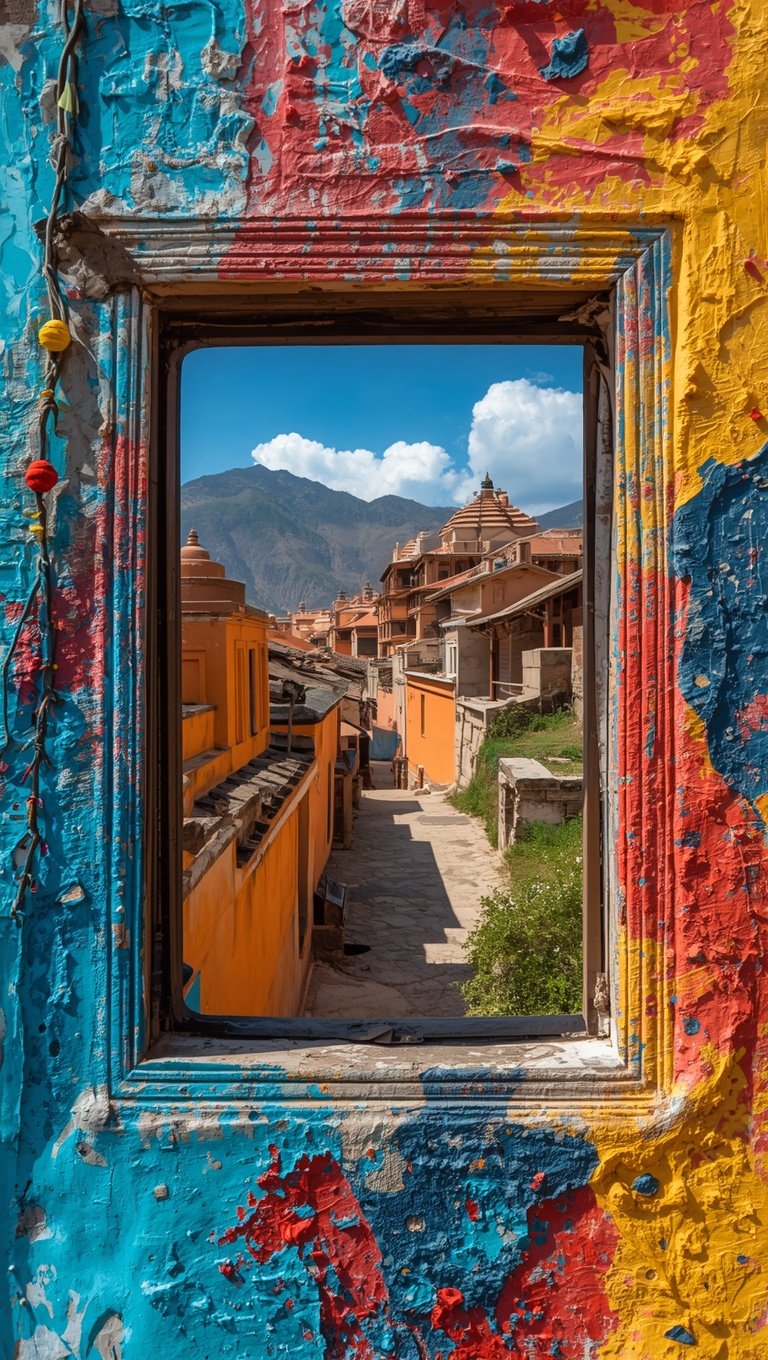
Stand centered, frame the archway evenly on both sides, and let it act like a natural frame around whatever’s beyond it.
It’s an easy trick, it photographs well basically anywhere in the world, and it makes your feed look a lot more curated than it probably feels in the moment.
🗼 I Wrote a Book About My Japan Travel Catastrophes!
Before I landed in Tokyo, I thought I was the “Final Boss” of international travel. Spoiler alert: I WASN’T. 😅
🚅 I boarded the wrong Shinkansen and ended up in THE WRONG CITY. I confused locals with my “expert” bowing that was more awkward than accurate. I accidentally stumbled into a high-stakes Kendo practice thinking it was a tourist show. Sound like something you’d do?
“Things I Wish I Knew Before Going to Japan” is your shortcut to avoiding ALL my cringe-worthy mistakes. ✨ Inside, you’ll find practical, LIFE-SAVING tips on etiquette, transport, money, and hidden gems that will save you time, money, and a whole lot of confusion.
Edit a Little, But Don’t Overdo It

I’m not a huge editing guy, I’ll be honest.
But a few small adjustments can take a decent phone photo and make it look genuinely great.
Bump the contrast slightly, warm up the tones a touch if the lighting felt a bit cold or blue, and straighten the horizon if it’s even slightly tilted.
That’s basically it.
Most phones have solid built-in editing tools now, so you don’t even need a separate app unless you want more control.
If you do want one, something like Lightroom’s mobile app or VSCO gives you a lot more room to play with tones and presets.
My personal approach is to find one or two edits I like and basically reuse a similar style across the whole trip.
It makes your photos feel like they belong together instead of ten random, wildly different edits thrown into one album.
Here’s my actual warning though.
Don’t over-saturate everything into some neon cartoon version of reality.
I’ve seen sunset photos edited so hard the sky looks radioactive, and it just looks fake instead of impressive.
The goal is enhancing what was actually there, not replacing it with something that never existed.
If a photo needs a ton of editing to look good, it’s usually not the editing that was the problem, it was probably the light, the angle, or the composition to begin with.
Fix those first.
Edit second, and lightly.
Back Up Your Photos Before You Regret It

Okay, this one isn’t glamorous, but it might be the most important tip in this whole post.
Back up your photos.
Every single day if you can manage it.
I know someone who dropped their phone in a river in Colorado and lost an entire two-week road trip’s worth of photos in about four seconds.
Gone.
No warning, no backup, nothing.
It still makes me a little sick thinking about it.
These days I upload to cloud storage every night before bed, doesn’t matter how tired I am.
Takes maybe five minutes on hotel wifi, and it means even if my phone gets lost, stolen, or takes an unexpected swim, the memories are safe somewhere else.
I also keep a small portable hard drive as a backup to the backup, mostly because I’m a little paranoid after that river story, but honestly, being a little paranoid about this stuff pays off.
If you’re someone who takes hundreds of photos a day, and a lot of us do, your storage will also fill up fast.
Backing up nightly clears space and gives you peace of mind at the exact same time.
It’s not the fun part of travel photography.
But it’s the part that protects everything else you worked to capture.
Don’t skip it.
Sometimes Put the Phone Down Completely

Here’s the part I almost feel weird including in a photography post, but I think it matters more than any technical tip on this list.
Sometimes the best move is putting the phone away entirely.
I’ve caught myself, more than once, so focused on getting the shot that I barely remembered the actual moment.
Standing at some incredible viewpoint, fully present behind a screen instead of behind my own eyes.
And that’s kind of backwards, if you think about it.
We take photos to remember moments, not to replace them.
So my personal rule now is simple.
I take the shots I want, maybe five or ten minutes of shooting at a spot I really love, and then I put the phone in my pocket and just stand there.
No screen, no framing, just me and the view.
It sounds small, but it changes the whole trip.
The memories from those unphotographed minutes somehow stick with me just as clearly, sometimes more clearly, than the ones I documented.
If you’re traveling with people you love, this matters even more.
Put the phone down during dinner.
Put it down during the sunset, at least for a few minutes.
Get the shot, then live in the moment you just captured.
Your photos will still be great.
And your actual memory of the trip will be even better.