
I missed the shot.
That’s the story.
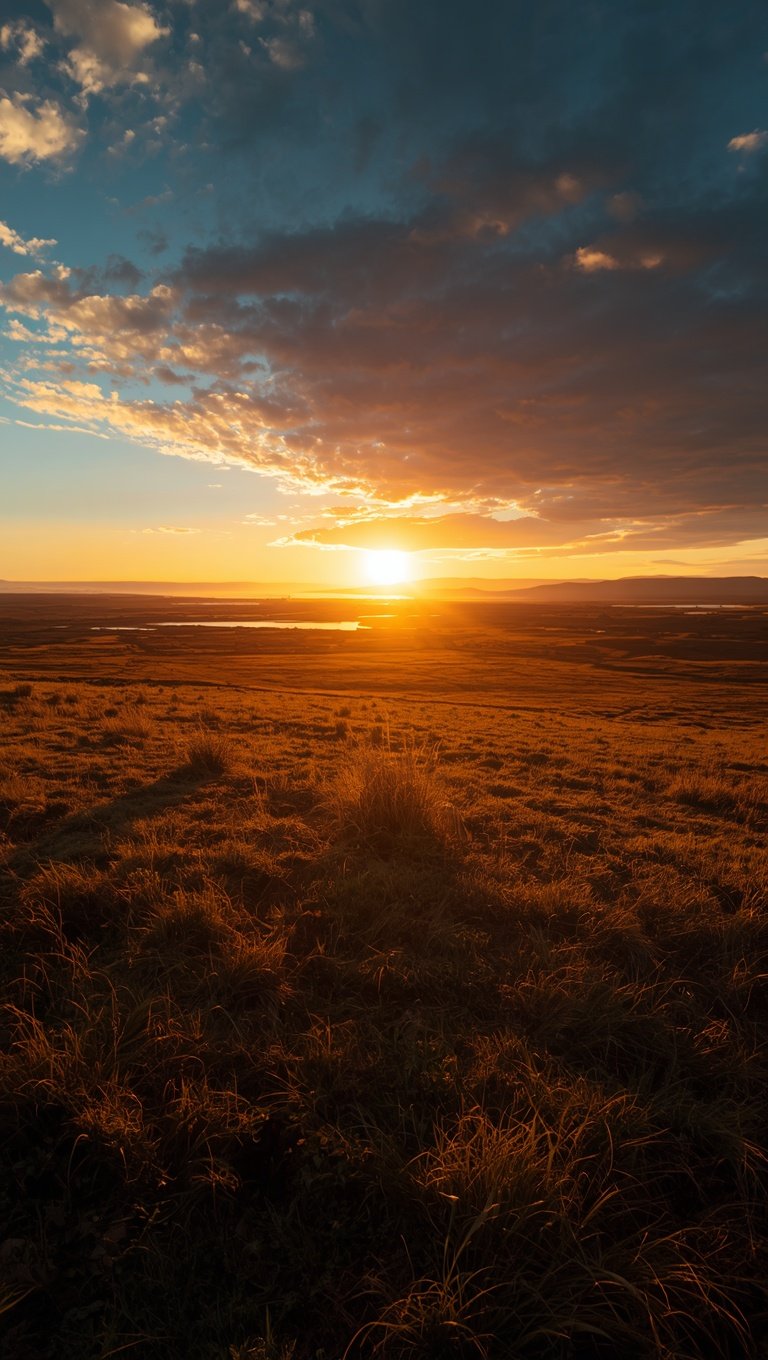
I stood on a ridge in Utah a few years back, gear half-packed, phone buzzing, completely unaware that the sky was about to turn into something out of a dream.
By the time I got my tripod up, the light was already fading into that flat, gray nothing.
I sat there kicking myself for a solid twenty minutes.
So, yeah, this guide exists because I learned this stuff the hard way, and I don’t want you to.
Golden hour is forgiving to nobody who isn’t ready for it.
But once you are ready, it rewards you in a way that almost feels unfair.
Let’s get into it.
Why Golden Hour Changes Everything

There’s a reason every photographer talks about this window like it’s sacred.
The sun sits low, so the light travels through more atmosphere before it hits your lens.
That extra distance scatters the harsh blue tones and leaves you with this warm, honey-colored glow.
Shadows get long and soft instead of that ugly midday harshness that flattens everything.
Suddenly a boring field has texture.
A plain rock face looks like it’s glowing from the inside.
I remember the first time I actually understood this, standing in a canyon in Arizona, watching the walls turn this deep orange-red right in front of me.
It wasn’t the location that changed.
It was just the light.
And that’s honestly the whole secret behind almost every jaw-dropping landscape shot you’ve ever scrolled past.
It’s not always a rare location.
It’s timing.
So if you take one thing from this whole post, let it be this.
Chase the light before you chase the destination.
Once that clicks for you, everything else on this list starts making a lot more sense.
Scout Your Location Before the Light Shows Up
Here’s a hack that saved me more shoots than I can count.

Go to your spot in the middle of the day first.
I know, I know, the light is going to be terrible, but that’s not the point.
You’re there to figure out where the sun will actually set relative to your composition.
Apps help a ton with this, and I’ll get into that in the next section.
But nothing beats standing in the actual spot and just looking around.
Where’s that interesting rock?
Where’s the tree line?
Is there water nearby that could catch a reflection later?
I did this before a shoot on the Oregon coast, and honestly, if I hadn’t scouted earlier that afternoon, I would’ve missed the tide pool that ended up being the whole foreground of my favorite shot from that trip.
Little personal tip here.
Bring your phone and just snap a few reference photos while you scout.
Then when the light shows up fast, and it does show up fast, you’re not fumbling around trying to remember where that cool angle was.
You already know exactly where you’re headed.
That kind of prep sounds boring.
But it’s the difference between a lucky shot and a shot you actually planned.
Time It Right, Down to the Minute
Golden hour isn’t actually an hour, which kind of annoys me every time I say the name out loud.

Depending on your latitude and the season, it can be closer to twenty minutes.
So this is not the moment to be casual about your schedule.
I use apps that track sun position and golden hour timing for my exact GPS coordinates, and it’s genuinely a game changer for planning ahead.
You can see exactly where the sun will be relative to your composition before you even leave the house.
That way you’re not guessing.
Set an alarm thirty minutes before the window starts.
I cannot stress this enough because the light shifts fast, and you want buffer time to set up, adjust, and just breathe for a second before it all happens.
There’s also a soft, quieter light right after sunset called blue hour, and honestly, I love it just as much.
It’s got this cool, moody, almost dreamy quality that pairs beautifully with a golden hour shot from the same session.
So don’t pack up the second the sun dips.
Stick around.
Some of my favorite frames happened in those quiet ten minutes after everyone else had already left.
🗼 I Wrote a Book About My Japan Travel Catastrophes!
Before I landed in Tokyo, I thought I was the “Final Boss” of international travel. Spoiler alert: I WASN’T. 😅
🚅 I boarded the wrong Shinkansen and ended up in THE WRONG CITY. I confused locals with my “expert” bowing that was more awkward than accurate. I accidentally stumbled into a high-stakes Kendo practice thinking it was a tourist show. Sound like something you’d do?
“Things I Wish I Knew Before Going to Japan” is your shortcut to avoiding ALL my cringe-worthy mistakes. ✨ Inside, you’ll find practical, LIFE-SAVING tips on etiquette, transport, money, and hidden gems that will save you time, money, and a whole lot of confusion.
Get Comfortable With Manual Mode
I resisted this for way too long.
Auto mode just doesn’t understand what golden hour is trying to do.

It sees a bright sky and a dark foreground and tries to average it out, which usually ruins the mood entirely.
So shooting in manual, or at least aperture priority, gives you control over how that light actually gets captured.
Start with a lower ISO, something like 100, to keep your image clean and free of grain.
For aperture, I usually sit around f/8 to f/11 for landscapes since it keeps most of the scene in sharp focus.
Your shutter speed is going to depend on the light, but this is where a tripod becomes your best friend, which I’ll talk about next.
Here’s a small personal habit of mine.
I always shoot in RAW format, never JPEG, for golden hour specifically.
The dynamic range in that warm light is intense, and RAW gives you so much more room to recover detail later during editing.
It sort of feels like giving yourself a safety net.
You might mess up the white balance in camera.
That’s fine.
You can fix it after.
Just don’t skip this step, because JPEG compresses so much of that gorgeous color data you worked so hard to capture.
Bring a Tripod, Even If It Feels Like a Hassle

I used to skip the tripod because, honestly, it’s heavy and annoying to carry.
Big mistake.
As the light dims during golden hour, your shutter speed slows down to let in more light, and that means any tiny shake in your hands shows up as blur.
A tripod keeps everything locked in place so you can use those slower speeds without losing sharpness.
It also lets you shoot at a lower ISO, which keeps your images cleaner overall.
There’s a bonus here too.
With a tripod, you can slow way down and actually think about your composition instead of rushing a handheld shot.
I noticed my photography improved almost instantly once I started using one consistently.
If you’re just starting out and don’t want to spend a ton of money, a lightweight travel tripod works completely fine for this.
You don’t need the fanciest gear on the market.
You just need something stable.
One little hack I picked up along the way.
Hang your camera bag from the center column of the tripod in windy conditions.
The extra weight keeps everything steady, even when gusts are coming off a cliffside or open field.
It’s saved me more than once on a windy coastal shoot.
Build a Strong Foreground

This one took me embarrassingly long to figure out.
A gorgeous sunset alone isn’t always enough to make a photo feel complete.
You need something in the front of the frame to give it depth and draw the eye inward.
Rocks, flowers, a winding trail, even footprints in sand can work beautifully here.
I remember shooting a mountain scene in Colorado and feeling like something was missing until I crouched down and found this little cluster of wildflowers right at my feet.
Suddenly the whole image had layers.
Foreground, middle ground, background, all working together instead of just one flat sunset shot like everyone else’s.
If I had to give one quick tip on this, it would be to get low.
Like, physically get down close to the ground and shoot upward a little.
It changes your perspective completely and makes ordinary elements look kind of dramatic.
And don’t be afraid to include something imperfect in your foreground.
A cracked rock, weathered wood, gnarled branches.
That texture adds so much character, especially when that warm light rakes across it sideways.
It’s one of my favorite little details to look for now, and I genuinely get excited when I spot it.
Use Leading Lines to Guide the Eye
Leading lines are basically the secret sauce of composition, and once you start seeing them, you can’t stop.

A trail, a river, a fence line, even shadows can act as a visual path pulling the viewer’s eye toward your main subject.
During golden hour, shadows get long and dramatic, which makes them incredible natural leading lines if you know how to use them.
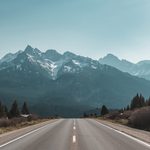
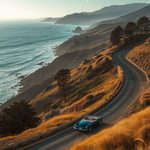
I love finding a winding dirt road at sunset and positioning myself so the road curves right into the frame.
It just naturally pulls your attention forward, toward the horizon, toward that glowing light.
Try experimenting with different angles here.
Sometimes shooting from a slightly elevated position reveals lines you wouldn’t notice at eye level.
A personal favorite of mine is shooting along a beach at low tide, where the receding water carves these gorgeous natural lines in the sand.
Combine that with a golden sky reflecting off the wet surface, and honestly, it’s hard to take a bad photo.
The lines do a lot of the compositional work for you.
You just have to notice them.
Slow down for a second before you shoot.
Ask yourself what’s naturally pulling your eye through the scene, and build your composition around that.
Don’t Be Afraid of the Sun in Your Frame
For a long time, I avoided shooting directly into the sun because I thought it would ruin the shot.
Turns out, that fear held me back from some of my favorite images.

Including the sun in your frame during golden hour can create gorgeous flare, soft glow, and dramatic contrast if you handle it right.
Stopping your aperture down to something like f/16 can turn the sun into a nice little starburst effect, which honestly looks kind of magical in a landscape shot.
Just be careful looking directly through an optical viewfinder at the sun for too long, since that can strain your eyes.
I usually shoot with the sun partially blocked by a tree, mountain, or rock formation, which softens the intensity while still letting some of that glow spill into frame.
It creates this hazy, dreamy quality that I’m honestly a little obsessed with.
A quick personal tip here.
Keep your lens clean before shooting into direct light.
Any smudge or dust shows up so much more obviously when there’s a bright light source in frame, and it can create weird, distracting flare spots you didn’t intend.
I learned this one after ruining an otherwise perfect shot with a coffee-stained fingerprint smudge.
Not my proudest moment.
Bracket Your Exposures

Golden hour skies are gorgeous, but they come with a real technical challenge.
The sky is often way brighter than your foreground, and that gap in exposure can be tough for a camera sensor to handle in one single shot.
This is where exposure bracketing comes in seriously handy.
Basically, you take multiple shots of the same scene at different exposure levels, then blend them later during editing.
One shot exposed for the sky, one for the midtones, one for the shadows.
I do this constantly on scenes with a really bright horizon and a darker foreground, like a mountain silhouette against a blazing sunset.
It gives you so much more flexibility afterward instead of trying to force one exposure to do everything.
If blending in editing software sounds intimidating, don’t worry.
Most editing programs have a straightforward HDR merge feature that handles a lot of the heavy lifting for you.
A graduated neutral density filter is another option if you’d rather handle this in camera instead of during editing.
It darkens the sky while leaving your foreground exposure untouched, which can save you a lot of time later.
Either method works.
Just pick whichever fits your style and your patience level that day.
🗼 I Wrote a Book About My Japan Travel Catastrophes!
Before I landed in Tokyo, I thought I was the “Final Boss” of international travel. Spoiler alert: I WASN’T. 😅
🚅 I boarded the wrong Shinkansen and ended up in THE WRONG CITY. I confused locals with my “expert” bowing that was more awkward than accurate. I accidentally stumbled into a high-stakes Kendo practice thinking it was a tourist show. Sound like something you’d do?
“Things I Wish I Knew Before Going to Japan” is your shortcut to avoiding ALL my cringe-worthy mistakes. ✨ Inside, you’ll find practical, LIFE-SAVING tips on etiquette, transport, money, and hidden gems that will save you time, money, and a whole lot of confusion.
Try Silhouettes for Drama

Silhouettes are one of those techniques that look way more complicated than they actually are.
All you need is a strong, recognizable shape and a bright sky behind it.
A lone tree, a mountain range, a person standing on a ridge, all of these work beautifully as silhouettes during golden hour.
Expose for the sky rather than your subject, and let that subject go completely dark.
The contrast between the glowing sky and the solid black shape creates this bold, striking image that honestly feels a little cinematic.
I shot a silhouette of a single pine tree on a ridge in Wyoming a while back, and it’s still one of my most requested prints.
Something about the simplicity of it just resonates with people.
Here’s a small hack for finding good silhouette subjects.
Look for shapes with clean, recognizable outlines.
A tangled bush doesn’t read as clearly as a single tree with defined branches.
Simplicity wins here every single time.
Also, don’t overthink your composition too much with silhouettes.
Sometimes the most powerful shots are the simplest ones, just one clear shape against an explosion of color.
It’s proof that you don’t always need a complicated scene to create something that stops people mid-scroll.
Capture Movement in Water

There’s something about golden hour light hitting moving water that just feels alive.
Whether it’s ocean waves, a flowing river, or even a small creek, the warm tones reflecting off the surface add this extra layer of richness to your shot.
Using a slower shutter speed here can create a soft, silky effect on the water, which contrasts beautifully with sharp rocks or foliage nearby.
This is another moment where your tripod becomes essential, since you’ll need those longer exposure times to get that smooth, dreamy look.
I remember shooting along a river in the Pacific Northwest, and the way the golden light danced across the moving current genuinely stopped me in my tracks for a second.
I just stood there watching before I even lifted my camera.
If you want sharper water instead of that silky blur, just speed your shutter back up.
There’s no wrong choice here.
It really just depends on the mood you’re going for.
Personally, I tend to go silky and soft for calmer rivers, and sharper for crashing waves where I want to preserve that sense of power and motion.
Play around with both.
You’ll figure out pretty quickly which style feels more like you.